Master the Classic Deviled Eggs: A Southern Recipe Guide
There are few dishes that evoke the warmth of Southern hospitality quite like a platter of classic deviled eggs. A staple at holiday gatherings, summer picnics, potlucks, and backyard barbecues, these humble yet irresistible bites hold a special place in the hearts (and stomachs) of many. With their creamy, tangy filling nestled in delicate egg white halves, deviled eggs are more than just a snack; they're a symbol of comfort, tradition, and shared joy. While variations abound, there’s an undeniable elegance and timeless appeal to the original, no-frills Southern-style classic deviled eggs. This guide will walk you through mastering this beloved recipe, ensuring your deviled eggs are always the first to disappear.
The Enduring Appeal of Classic Deviled Eggs
What makes classic deviled eggs so universally adored? It's a combination of simplicity, nostalgia, and a perfectly balanced flavor profile. For many, deviled eggs are a taste of childhood, conjuring images of grandma's kitchen or festive family feasts. Their straightforward ingredient list belies a complex interplay of textures and tastes: the firm yet tender egg white, the smooth and rich yolk filling, and the bright, zesty kick from mustard and sweet pickle relish. This quintessential Southern combination strikes a perfect chord, making them an essential accompaniment to nearly any meal or social gathering. They are proof that sometimes, the best recipes are those that remain true to their simple origins.
Crafting the Perfect Classic Deviled Eggs: A Step-by-Step Guide
Achieving deviled egg perfection begins with a few fundamental steps, each crucial to the final delicious outcome.
The Foundation: Flawless Hard-Boiled Eggs
The journey to sublime deviled eggs starts with perfectly cooked hard-boiled eggs. Overcooked eggs yield an unappetizing greenish-gray ring around the yolk, a tell-tale sign of sulfur compounds developing due to excessive heat. To avoid this, precise timing is key. For ideal hard-boiled eggs with firm, bright yellow yolks, boil your eggs for exactly 11 minutes and 30 seconds.
Once cooked, immediately transfer the eggs from the hot water to an ice bath—a bowl filled with ice and water. This rapid cooling halts the cooking process, preventing that dreaded greenish tint, and more importantly, makes the eggs significantly easier to peel. Let them rest in the ice bath for at least 5 minutes, or until completely cool. When ready to peel, gently crack each egg all around its shell and peel them under cool running water. The water helps to dislodge tiny shell fragments and separates the membrane from the egg white, leading to cleaner, smoother results. For even more detailed insights into achieving peel-perfect eggs and enhancing overall flavor, explore our article on
Perfect Deviled Eggs: Essential Tips for Easy Peeling & Flavor.
The Quintessential Southern Filling
Once your hard-boiled eggs are cooled and peeled, carefully slice them in half lengthwise with a sharp knife. Gently scoop out the vibrant yellow yolks into a medium bowl, leaving the pristine egg white halves ready for their creamy embrace. The heart of our classic deviled eggs recipe lies in its simple, yet potent, filling ingredients:
* **Egg Yolks:** The star of the show, providing richness and body.
* **Mayonnaise:** The creamy binder that brings everything together. Opt for a full-fat, good quality mayonnaise for the best flavor and texture.
* **Mustard:** A touch of tangy mustard (yellow or a mild Dijon works beautifully) adds a subtle zing and depth.
* **Sweet Pickle Relish:** This is the secret ingredient that truly defines Southern deviled eggs, offering a delightful crunch and a sweet-tart counterpoint to the richness.
* **Salt and Freshly Ground Black Pepper:** Essential for seasoning to taste.
Using a fork, mash the yolks until they are finely crumbled and smooth. Then, add the mayonnaise, mustard, and sweet pickle relish. Continue mashing and stirring vigorously with the fork until the mixture is completely smooth and free of lumps. This creates that signature creamy texture. Don't forget to taste the filling as you go! This allows you to adjust the seasoning, adding more salt, pepper, or a bit more relish or mustard to suit your preference.
Assembly and Presentation
With your creamy filling ready, it’s time to complete your classic deviled eggs. You have two main options for filling the egg white halves:
1. **Spoon Method:** For a rustic, homestyle look, simply spoon the filling generously into each egg white cavity.
2. **Piping Method:** For a more elegant, polished presentation, transfer the yolk mixture into a piping bag fitted with a star tip (or simply snip off one corner of a Ziploc bag). Pipe the filling into the egg white halves, creating beautiful, swirled peaks. This method not only looks professional but can also make the filling process quicker and cleaner.
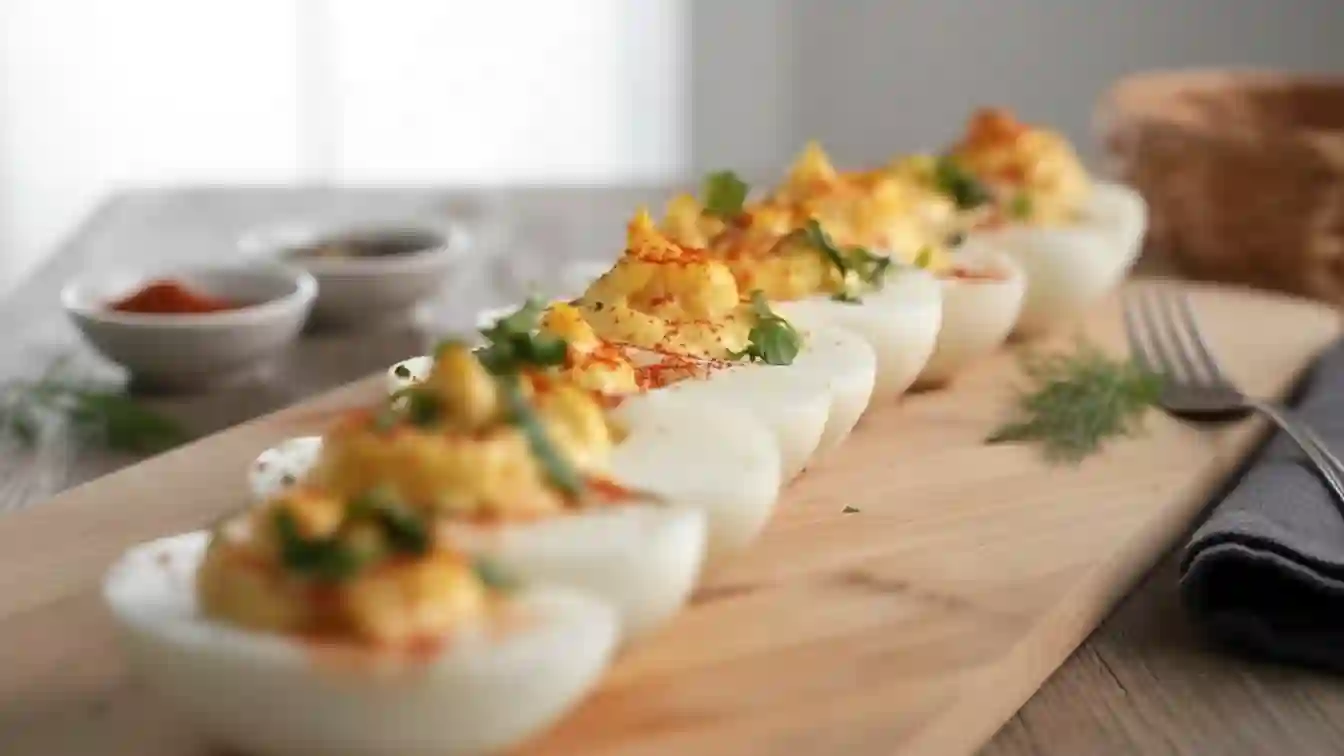
Finally, a light dusting of paprika is the traditional and aesthetically pleasing garnish for classic deviled eggs. It adds a pop of color and a whisper of smoky flavor.
Expert Tips for Deviled Egg Perfection
Elevate your classic deviled eggs from good to unforgettable with these tried-and-true techniques.
*
Precision Cutting with a Sharp Knife: A dull knife is the enemy of delicate egg whites. For the cleanest, most attractive cut, always use a very sharp knife to halve your hard-boiled eggs. This prevents tearing and creates a perfect cup for your filling.
*
Mastering Filling Consistency: The ideal deviled egg filling should be creamy and spoonable, but not runny. The mayonnaise and mustard provide enough moisture. If your filling seems too thin, don't panic! You can thicken it by mashing in an extra hard-boiled egg yolk or two, or by carefully draining any excess liquid through a fine-mesh sieve. If it’s too thick, a tiny splash more mayonnaise will loosen it up.
*
Mayonnaise Matters: The type of mayonnaise you use significantly impacts the final flavor and texture. While any mayo will work, a good quality, full-fat variety (like a classic Southern brand) will yield a richer, creamier, and more authentic taste.
*
Salt, Pepper, and Taste: These are not just afterthoughts. Seasoning the filling generously with salt and pepper is crucial. Always taste the mixture before filling to ensure it's perfectly balanced. It’s easier to adjust now than once they’re assembled.
Beyond the Classic: Simple Yet Flavorful Variations
While we celebrate the pure simplicity of classic deviled eggs, their versatility is one of their most charming attributes. Once you’ve mastered the core recipe, feel free to experiment with subtle twists that still honor the spirit of the original.
Beyond the traditional paprika, consider a sprinkle of **smoked paprika** for a deeper, earthier note, or a pinch of **cayenne pepper** to introduce a gentle, warming heat. For those looking to venture slightly further without straying too far from the classic profile, consider finely chopped fresh **chives** or **shallots** mixed into the filling for a delicate oniony freshness. A dash of your favorite **hot sauce** or a sprinkle of crispy, crumbled **bacon** can also add fantastic dimensions of flavor. Remember, even with these additions, the fundamental technique for the perfect hard-boiled egg and creamy yolk mixture remains the same. To explore an even wider array of creative fillings and smart make-ahead strategies, check out our companion article:
Classic Deviled Eggs: Make-Ahead Prep & Flavorful Variations.
Make-Ahead & Storage Secrets
Deviled eggs are often a favorite at gatherings, and thankfully, they can be prepped in advance, making party planning a breeze.
For the best results, deviled eggs can be prepped and stored, covered, in the refrigerator for up to three days. However, for peak freshness and presentation, the ultimate make-ahead strategy is to keep the hard-boiled egg white halves and the yolk filling separate. Store the whites in an airtight container and the filling (also tightly covered) in the refrigerator. Then, assemble and fill the deviled eggs just an hour or two before you plan to serve them. This prevents the filling from drying out and keeps the egg whites looking pristine.
Once assembled, fresh deviled eggs are best enjoyed within two to three days when stored properly in the refrigerator. Over time, the filling may slightly deflate, and any fresh herb garnishes might wilt, but they remain edible. If you anticipate having leftovers, or if you're making a large batch for a smaller gathering, consider only filling a portion of the egg whites at a time. This allows you to enjoy freshly filled deviled eggs over several days, maintaining their optimal texture and appearance for each meal or snack.
Conclusion
Mastering the classic deviled eggs recipe is a rewarding culinary endeavor that brings joy to any table. From the perfectly hard-boiled eggs to the creamy, tangy filling, each step contributes to an irresistible bite that embodies Southern comfort. Whether you stick to the time-honored recipe or experiment with a few thoughtful variations, the key lies in understanding the fundamentals and paying attention to detail. So go ahead, gather your ingredients, follow these tips, and prepare to watch your platter of classic deviled eggs vanish in record time. They’re more than just a dish; they’re a beloved tradition waiting to be shared.