Unlocking the Secret to Perfect Deviled Eggs: Easy Peeling & Irresistible Flavor
Few appetizers evoke the same sense of nostalgic comfort and universal delight as
classic deviled eggs. Whether gracing a holiday spread, a casual potluck, or a backyard barbecue, these creamy, tangy bites are almost always the first to disappear. While seemingly simple, mastering the art of the deviled egg involves a few crucial techniques, especially when it comes to achieving beautifully peeled eggs and a perfectly balanced, flavorful filling. This comprehensive guide will walk you through essential tips, from foolproof peeling methods to crafting a delectable yolk mixture, ensuring your deviled eggs are nothing short of extraordinary every single time.
The Foundation: Mastering the Hard-Boiled Egg for Effortless Peeling
The journey to perfect deviled eggs begins, ironically, with the perfect hard-boiled egg. The challenge often lies not in boiling itself, but in the frustrating battle against stubborn shells that cling relentlessly to the delicate whites. Rest assured, with a few expert tricks, you can achieve smooth, unblemished egg whites ready for their delicious transformation.
The primary culprit behind difficult-to-peel eggs is often freshness; very fresh eggs tend to stick more. However, cooking technique plays an even more significant role. Overcooking is another common pitfall, leading to that unappealing greenish-gray ring around the yolk – a sign of a chemical reaction between sulfur in the egg white and iron in the yolk. While safe to eat, it detracts from the visual appeal and can impart a slightly sulfurous odor. For ideal hard-boiled eggs with vibrant, creamy yolks, aim for a precise cooking time: **11 minutes and 30 seconds** in boiling water.
The Ice Bath Advantage: A Game-Changer for Easy Peeling
Immediately after their timed boil, your eggs need a shock to the system. This is where the ice bath comes in. Carefully transfer the hot eggs from the boiling water directly into a bowl filled generously with ice and cold water. Let them stand for at least 5 minutes, or until completely cooled.
**Why does this work so effectively?** The sudden temperature change causes the egg white to contract rapidly, pulling it away from the shell's inner membrane. This thermal shock creates a tiny gap, making the membrane far less adhesive. Without this crucial step, the membrane often fuses with the egg white as it cools slowly, making peeling a nightmare.
The Gentle Peel: Under Running Water
Once thoroughly chilled, it's time to peel. Gently tap each egg on a hard surface to create tiny cracks all over the shell, focusing on the wider end where the air pocket typically resides. Then, peel the eggs under a gentle stream of cool running water. The water helps to wash away small shell fragments and, more importantly, slips between the egg white and the inner membrane, further aiding in separation. You'll find the shell practically slides off, leaving you with perfectly smooth, intact egg whites. This technique ensures your deviled eggs have a clean, inviting presentation.
Crafting the Irresistible Filling: The Classic Deviled Eggs Approach
With your beautifully peeled eggs in hand, the next step is to create the heart and soul of your deviled eggs: the rich, creamy filling. The beauty of
classic deviled eggs lies in their simplicity, relying on a few core ingredients to deliver a powerful punch of flavor.
Start by carefully slicing each hard-boiled egg in half lengthwise using a sharp knife. A dull knife will tear the delicate whites, compromising presentation. Gently scoop out the bright yellow yolks into a medium bowl, leaving the pristine egg white halves ready to be filled.
Essential Ingredients for Southern Perfection
For a truly Southern-style classic, your filling will consist of:
* **Egg Yolks:** The creamy base.
* **Mayonnaise:** Binds the ingredients and adds richness. The quality of your mayonnaise significantly impacts the final taste, so opt for your favorite brand.
* **Mustard:** Provides that essential tangy kick. Yellow mustard is traditional for its classic flavor, but a touch of Dijon can add a sophisticated edge.
* **Sweet Pickle Relish:** Offers a delightful sweet-tart counterpoint and a slight textural contrast. Some recipes substitute a splash of pickle juice or vinegar for the relish, achieving similar tang.
Achieving Silky Smoothness and the Art of Seasoning
Using a fork, mash the egg yolks thoroughly until no large lumps remain. This is crucial for a smooth filling. For an extra-velvety texture, you could even press the yolks through a fine mesh sieve or a potato ricer before mixing.
Next, add your mayonnaise, mustard, and sweet pickle relish to the mashed yolks. Mix everything together with the fork, incorporating the ingredients until the mixture is completely smooth and creamy. The filling should be spoonable but not runny. If you find your filling is too thin, you can thicken it by draining it briefly in a fine mesh sieve to remove excess liquid, or by mashing in a bit more cooked yolk (if you have extra) or even a pinch of dried mustard powder. Conversely, if it's too thick, a tiny splash more mayonnaise or pickle juice will loosen it up.
**Taste as you go!** This is perhaps the most important tip. The flavor profile of deviled eggs is highly personal. Sample the yolk mixture and adjust the seasoning to your preference, adding salt, black pepper, or a touch more mustard or relish until it's perfectly balanced. This iterative tasting process ensures your
classic deviled eggs hit all the right notes for your palate.
Elevating Your Deviled Eggs: Presentation & Flavorful Variations
Once your filling is perfectly seasoned, it's time to assemble these delightful bites. While spooning the filling back into the egg white halves is perfectly acceptable and yields a rustic charm, a little presentation effort can elevate your deviled eggs from simple snack to showstopper.
Presentation Perfection: Piping vs. Spooning
For a polished, professional look, consider using a piping bag. Simply spoon the yolk mixture into a pastry bag fitted with your favorite decorative tip (a star tip is popular for its elegant swirl) or, for a more casual approach, a zip-top bag with one corner snipped off. Pipe the filling neatly into each egg white cavity, creating beautiful mounds or elegant swirls. This not only looks fantastic but also makes the filling process cleaner and more efficient, especially when making a large batch.
Beyond Paprika: Flavorful Finishes & Creative Additions
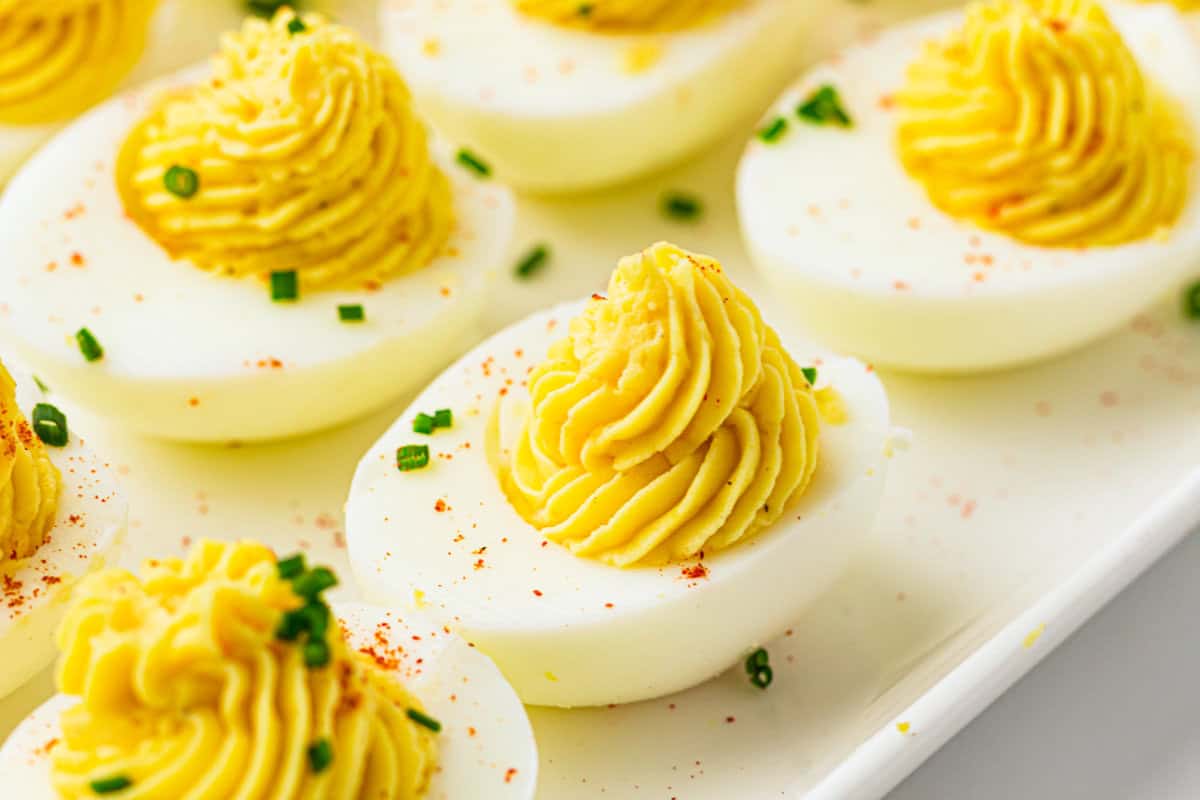
A sprinkle of paprika is the traditional and beloved finishing touch for
classic deviled eggs, adding a pop of color and a subtle earthy note. For a deeper, smoky nuance, try smoked paprika. If you crave a hint of heat, a dusting of cayenne pepper can provide a spicy kick without overpowering the creamy filling.
But the versatility of deviled eggs doesn't stop there. They are an open canvas for culinary creativity. Consider mixing in other ingredients to personalize your recipe:
* **Herbs:** Fresh chives, dill, or parsley add brightness and a lovely green hue.
* **Shallots or Green Onions:** Finely minced for a delicate oniony flavor.
* **Crispy Bacon Bits:** A savory, crunchy contrast.
* **Hot Sauce or Sriracha:** For a fiery kick directly in the filling.
* **Blue Cheese Crumbles:** For a pungent, sophisticated twist.
* **Capers or Olives:** Finely chopped for briny notes.
These additions allow you to tailor your deviled eggs to your menu, occasion, or personal taste, making them endlessly adaptable. For more inspiration on customizing your batch, check out
Classic Deviled Eggs: Make-Ahead Prep & Flavorful Variations.
Smart Prep & Storage: Enjoying Deviled Eggs Longer
Deviled eggs are best enjoyed fresh, but thoughtful preparation can extend their shelf life and maintain their quality, especially when planning for parties or busy holidays.
Make-Ahead Strategies
While you can assemble deviled eggs up to 3 days in advance, for optimal freshness and texture, it’s highly recommended to keep the components separate until just before serving. Hard-boiled egg whites can be stored, covered, in the refrigerator for up to 3 days. The prepared yolk filling can also be stored in an airtight container (or even in the piping bag itself) in the fridge for up to 2-3 days. This prevents the filling from drying out, deflating, or absorbing refrigerator odors. Just fill the egg whites right before your guests arrive, sprinkle with your chosen garnish, and serve!
Optimal Storage for Freshness
Once assembled, deviled eggs should be kept refrigerated and consumed within three days. While still edible beyond this, you might notice the filling starting to deflate slightly and any fresh toppings (like chives) wilting. If you anticipate having leftovers, or simply want to enjoy them over a few days, consider filling only the portion you plan to eat at a given time. This way, the remaining egg whites and filling stay as fresh as possible, allowing you to enjoy that "just-made" taste for longer. Always keep them covered tightly to prevent drying and maintain their delicate flavors.
Conclusion
From the satisfying crack of a perfectly peeled hard-boiled egg to the rich, tangy burst of a well-seasoned filling, mastering
classic deviled eggs is a culinary skill that guarantees smiles. By focusing on precise cooking times, utilizing the transformative power of an ice bath, and balancing your flavors with care, you can consistently create an appetizer that is both effortlessly elegant and universally loved. So go ahead, get cracking, and prepare to watch your perfect deviled eggs fly off the platter!